
On to Level 3 Quick and Simple Cards Lesson. I selected this class as the course content focused on techniques to create cards that were ‘quick’to create. I of course added my own ‘spin’ to each card. I had to be creative when planning and completing the cards using the Altenew supplies that I had. I applied the techniques that Laurie shared in the videos and I am pleased with the lesson cards.


The card lesson objectives were-
- Creating sentiment strips
- Masking and stenciling’
- Background stamping
- Covering a card with stenciling
- Masking and stencilng
- Embossed / scored accent edges
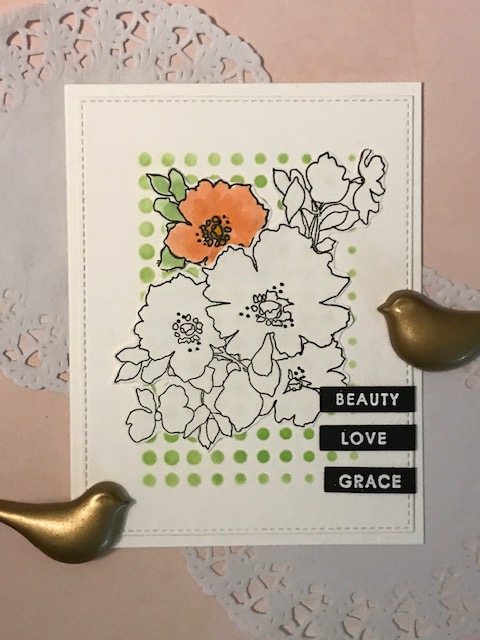
LESSON ONE AND TWO COMBINED
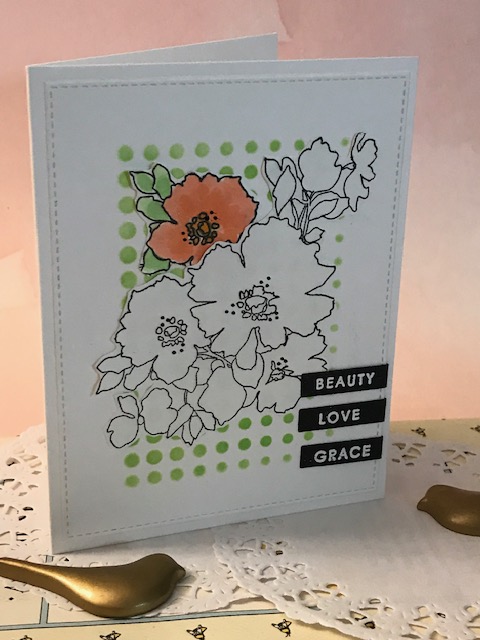
This card combined Lesson 1 and Lesson 2 objectives. Lesson 1 focused how to stamp multiple sentiments using a stamping platform and grid lines. Lesson 2 focused on masked edges and inking a background using a stencil and a black and white stamped image with a colored accent image. I taped off the card edges using 1″ Post It Note paper tape, inked the Half Tone stencil with Firefly ink cube. I stamped the floral bunch from the Charmed stamp set using black Versamark ink and fussy cut the image. I stamped a single flower from the same stamp, colored the flower and leaf using Copic markers and fussy cut that as well, It needed a pop of color to compliment the inked background. I then used my MISTI stamping platform and spaced out three sentiments, black paper and white embossing powder. I then die cut each strip and also die cut the inked paper to fit the front of the A2 card. I added the sentiment strips and added it to a white card base. Finishing touch was adding black Glaze pen dots to the flowers.


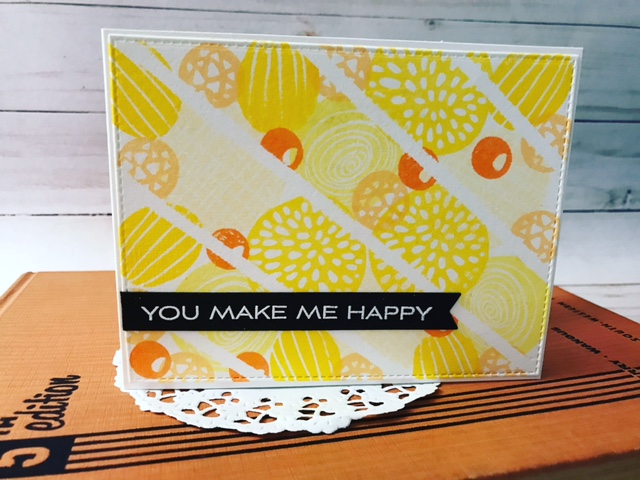
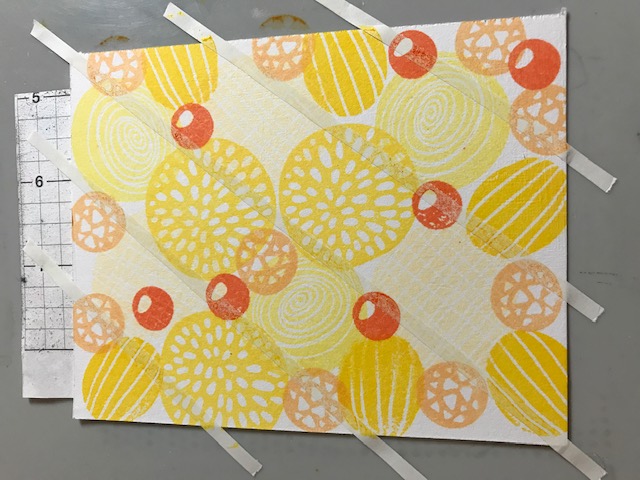
CARD 3 CREATING A STAMPED BACKGROUND

This lesson focus was to create a backgroud using a large stamp and different colored ink to cover the quarter sheet of paper. I created my own background stamp using several different stamps from the Funky Flower set. I masked off diagonal stripes using 1/4″ Post It Paper to cover the paper. I used several large and small stamps from the Altenew Funky Flower set on small acrylic blocks. This allowed me to stamp using different colored ink cubes for the different Funky Flower stamps. I used Altenew ink cubes that were shades of yellow and orange for the smallest stamps. The stamps overlapped in some areas. When I removed the paper strips, the paper looked like it was made from one large stamp. Which was the goal of the lesson. I added a sentiment strip which was die cut, the stamped piece was also die cut and adhered to a A2 white card base. I will try this masking technique again.


CARD 4 BLENDED STENCILS/QUICK AND SIMPLE
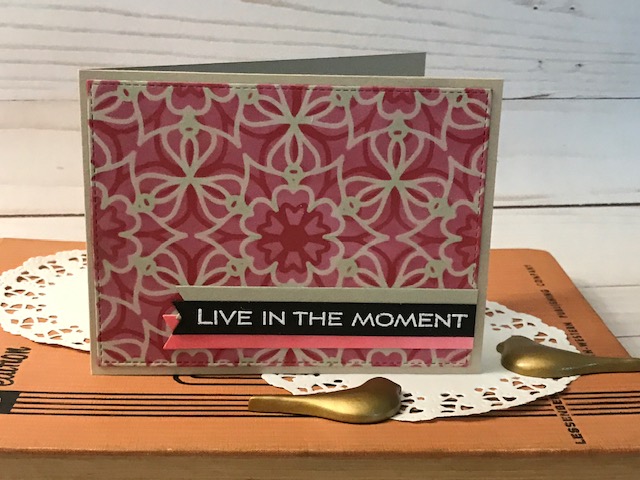
This lesson video demonstrated inking a large floral stencil and then stamping inside each stencil opening to create additioinal visual interest. After several attempts of cutting my own stencils and researching my Altenew supplies I decided to use the same lesson objective using the Layered Medallion A and B stencil that I had. I selected a light medium colored beige piece of card stock like Laurie used in the video. I inked Layer A with Cotton Candy ink cube to cover the entire piece of card stock. Layer B stencil I used the Ruby Red ink cube which was a much darker color which would create a contrast to the first layer of ink. This second stencil added darker lines which were contrasting to the color of the card stock and first inked stencil. The stenciled piece reminded me of a mosiac tile with the contrasting colors. I die cut the stenciled piece using a stitched edge die. I inked a piece of white card stock to match the stenciled piece, stamped and embossed the sentiment. I did several at the same time using the technique from Lesson 1. I layered three die cut banners to the bottom of the card. This was another A2 card half sheet of paper with a left side scored fold.


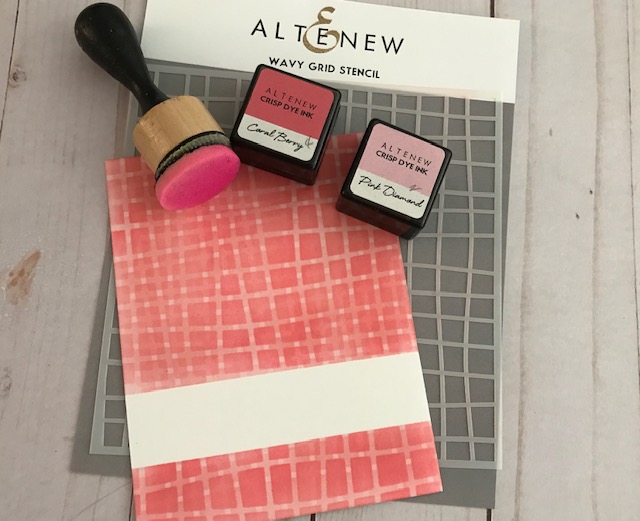
CARD 5 MASKING AND STENCILING

Following the theme of quick and simple, Laurie demonstrated how to create a masked section of a card for visual interest. You could work on the rest of the card keeping the masked section clean. I used white cardstock to start with, masked a section using 1″ wide Post It tape and the Altenew Wonky Grid stencil. I inked the first layer with a light pink ink cube and a foam applicator handle. I used the next darker ink cube and move the stencil to the right which would create a new ink grid. Using the same ink and I moved the stencil down and over one set of lines. This now created a plaid inked image. I loved the background that I created using the same piece of paper, grid stencil, and ink cubes. I removed the Post It tape and then worked on the sentiment. I stamped the half tone Smile stamp with black ink and die cut it. I also die cut three other smiles from white paper and layered them to create a raised imag. I stamped on black paper the word just, inked a coordinating pink piece of paper for accent strips for the top and bottom of the white masked section. This helped to transition from the grid to the white section. I used tiny piece of foam tape to the layered smile die and tucked the just tag under the smile. This piece was glued to a A2 white card base. I added three stick on silver sequins to the top right hand corner of the card front for some bling. This lesson reminded me of how easy it is to create unique inked background papers. I am glad that I had the Altenew Wonky Grid stencil to use as it was a recent purchase.


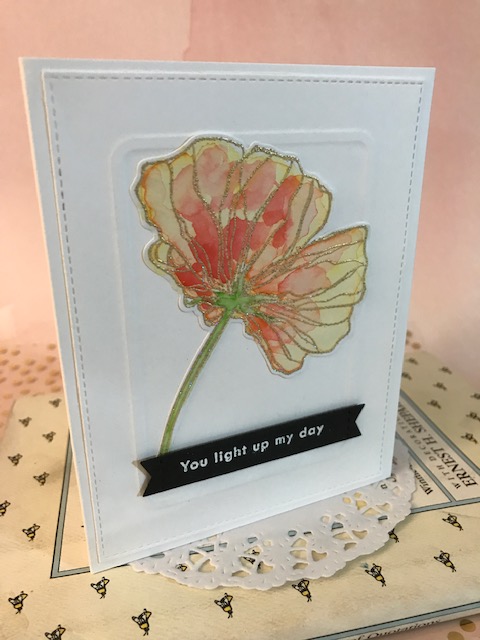
CARD 6 EMBOSSED/RAISED BORDER
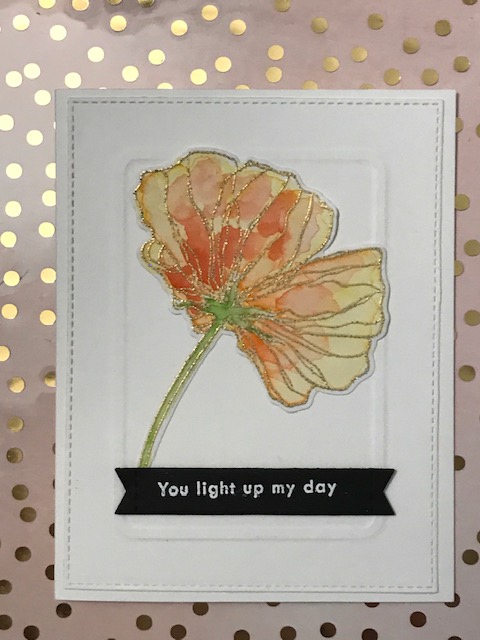
This is truly a clean and simple card layout with a single visual image. Laurie demonstrated how to create a raised outline using to create a border. I then used that concept and to create an embossed edge using the Altenew Rounded Rectangle die. I used a quarter sheet of white card stock, my Sizzix die cutting machine, a rubber embossing mat and the largest rounded rectangle die to run through my Sizzix. This set up created an embossed edge using the die. I really like the raised accent edge using this die, it was smaller than the paper as it was centered on the paper which allowed me to die cut the rest of the paper using my stitched edge die.
The Altenew poppy was stamped using Versamark ink and embossed with gold embossing powder. I painted the flower and stem using Altenew ink cubes using a watercolored blended look. I stamped and embossed the sentiment using the technique from Class 1. This was attached to a white A2 card base. Another technique that I will use again, especially that I figured out how to use a die for the embossed feature. I really liked this technique once I figured it out. A nice frame for the large painted poppy image.


SUPPLIES AND RESOURCES
Altenew Supplies
Rounded Rectangles Die Set
Layered Medallion A and B Stencil
Wonky Grid Stencil
Gradient Dot Stencil
Smile half tone stamp and die set
Charmed stamp set
Funky Flower stamp set
Poppy stamp set
Ink cubes- pink, yellow, orange, green
ADDITIONAL CRAFTING SUPPLIES
My Favorite Things dies
Cardstock-white, beige
Double sided tape and foam tape
White and gold embossing powder
Versamark embossing ink, Versafine black ink
Post It paper tape
Stick on sequins Park Lane from Joanns store
