
PAPER PIECING STRIPS TECHNIQUE
Hello to the month of March! And March cards that I have created in months past is usually connected to St. Patrick’s Day. Believe it or not, I don’t have lots of stamps or card making supplies to use for St. Patrick’s Day celebration. So it was time to get creative with the supplies and paper that I have in my collection,
I was inspired by watching a great video by Jennifer Mcguire that was about using paper scraps to create a background and creatvie paper piecing. So I thought I would give it a try. I dove into my patterned/printed green scrapbook paper pieces that I had in my vast collection.
Next was to cut the paper into 1/2″ strips and glue to a white card base mixing up the printed paper. Once that was done, I cut the new background paper into 3 1/2″ square. Then I cut that piece corner to corner diagonally to create four right angle triangles. See photo for this step.
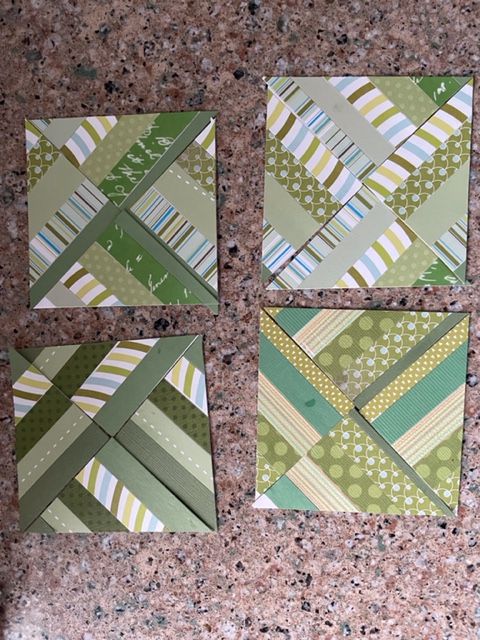
Then I created the mix and match patterns for each four square piece for the card front. I cut a piece of 3 1/2″ white card stock to adhere/glue the four triangles. I die a cut a small square to cover the middle where all of the pieces met and covered any issues. I also die cut a Hi using gold glitter paper for the middle of the green square. There are so many different ways to use the triangles to create different layouts.
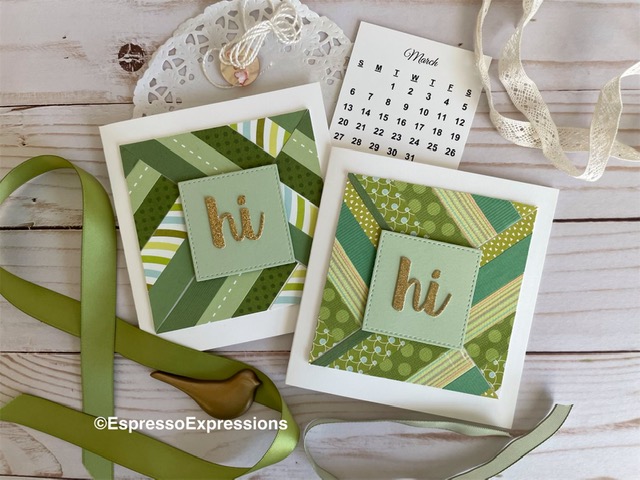
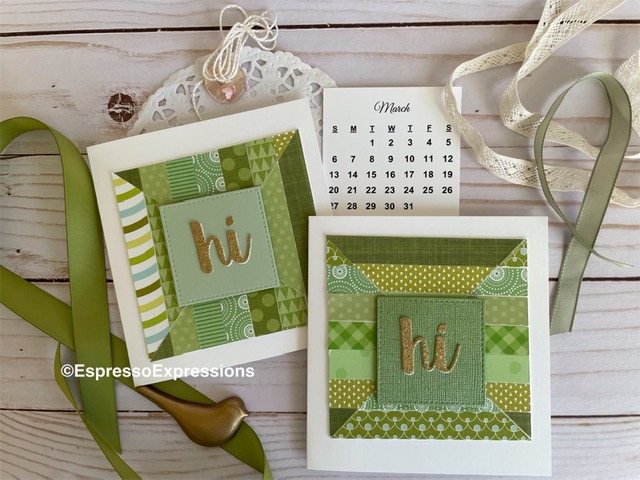
The card base is a 4″ square using white card stock and fits in an A2 envelope. Lots of different paper strip patterns and combinations. I used lots of scraps of patterned paper that had I had in my collection. Hooray! Give this technique a try. Now I am trying solid paper to create different combinations and patterns. Have fun and happy card making.
SUPPLIES AND MATERIALS
- white card stock for 4″ card and for background square
- A2 envelope
- patternred/printed paper scraps
- My Favorite Things- hi die cut and stitched edge square die
- glue- wet glue, double sided tape and foam tape
- Jennifer Mcguire You Tube video
