
TECHNIQUES FOR “THE LOVE OF COLOR” CLASSES-
The lessons in this class focused on the following techniques-
Repeated stamping to add ink and color
Coloring and shading using Copic markers
Coloring and shading using colored pencils
Coloring and shading using watercoloring
Glitter paper and shading with markers
Embossing using embossing powder to create an accent frame


LAYERED INKED COLORS

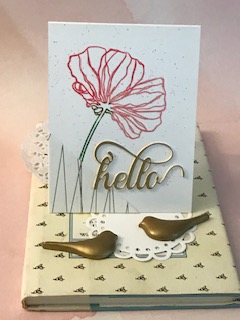
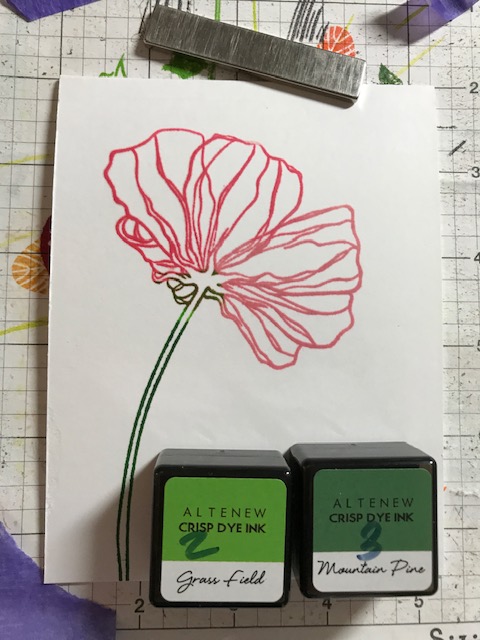
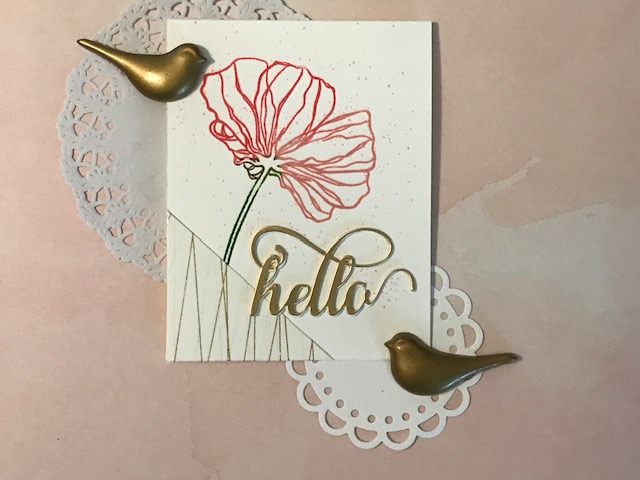
This card was created using a variety of pink ink cubes from Altenew and the large poppy stamp. The objective of the lesson was using a variety of inks to create a gradient of colors. I had to improvise using the resources that I had so I decided to begin with the lightest shade of pink ink, then a slightly darker ink cube and the last one is poppy pink. Every time I stamped the flower, it created an embossed edge. I also used several shades of green ink for the stem. I then added Altenew washi tape corner accent and a layered gold paper die cut hello. I like the clean and simple card that highlights the color variations using different ink colors.
Steps for the process I used to create the Poppy card.


NEXT CARD- COLORING AND SHADING USING COPIC MARKERS

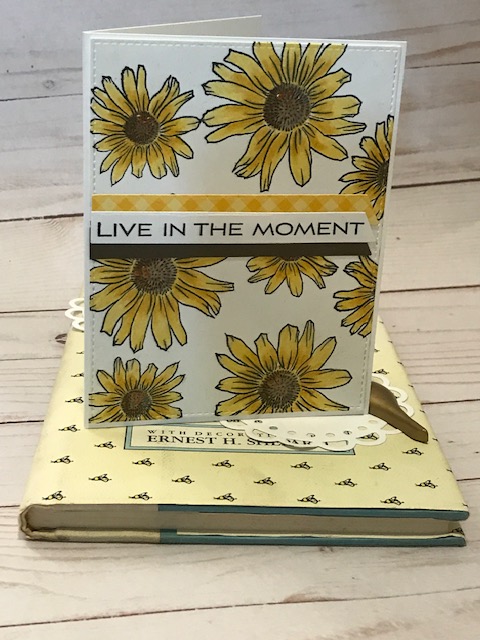
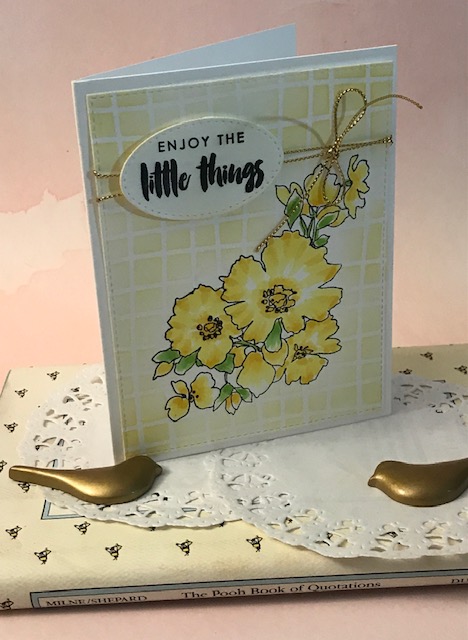
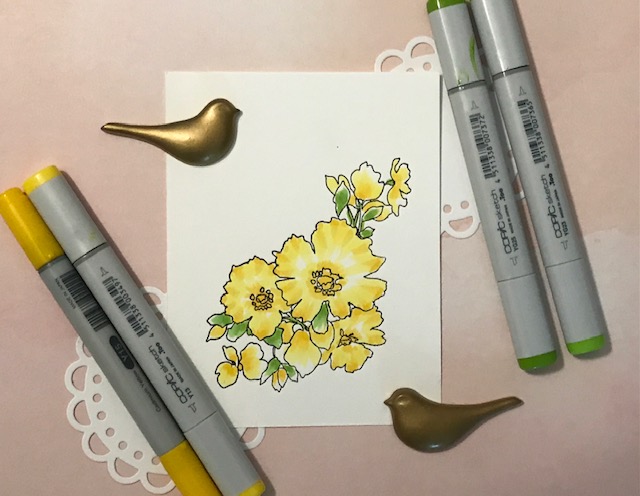
This class focused on techniques to create shading for flower petals. I used a favorite stamp from Altenew that has large flower petals. I watched the video several times before I was ready to give it a go. I used several different shades of yellow Copic markers- cadmium yellow, lemon yellow and celadon green and new leaf green for the leaves and stems. I learned many new techniques and the shading of the petals really looked dimensional. I used Altenew wonky grid stencil to ink the background. A die cut sentiment, gold cording and black glaze ink dots finish the card.


SHADING AND BLENDING WATERCOLORED CARD
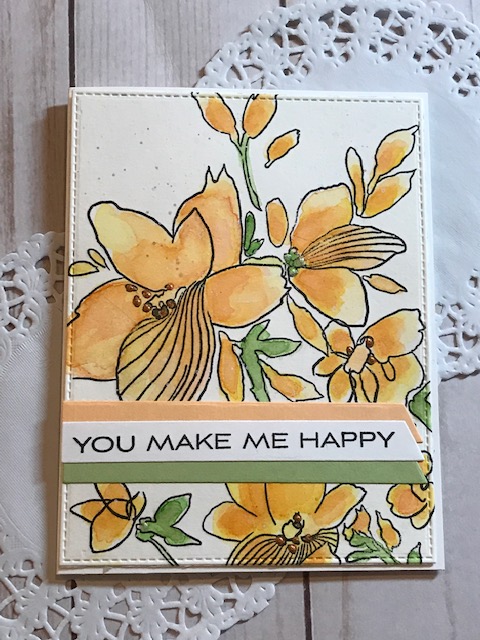
It was time to breakout the watercolor set that I have. I stamped the flower branch using the Altenew Sketchy Floral stamp set on watercolor paper. I selected this stamp set because of the large petals so I had room to paint and shade the petals. I used a wet paint brush to ‘paint’ each of the petals and twigs with water. I added the lightest watercolorcolor first, and continued to blend in darker shades of paint to continue to blend and shade. I used the same technique for the stems and leaves, I created a coordinating stamped sentiment with color cordinated green and melon colored banners. And of course a few colored Nuvo drop accents.


SHADING AND BLENDING USING COLORED PENCILS

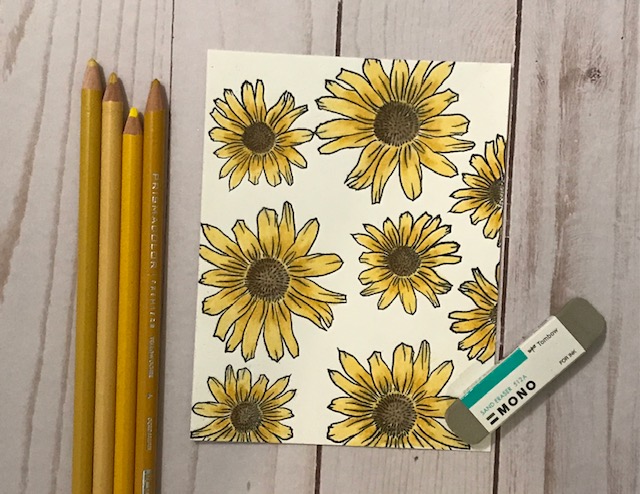
The next card was to use colored pencils to layer each color and add shading and dimension to each flower petal. I stamped the daisy type flower from the Altenew Smile More stamp set. I used heavy weight white card stock and black pigment ink and my MISTI stamping platform. I stamped the larger flower first and then added in the remaining spaces the smaller version of the flower. Following the steps in the video, I used the lightest shade of yellow in my Prismacolor colored pencil set, then added the next darker pencil color starting at the top of the petal closest to the center of the flower. The petals now had shading and dimension. I used the same shading technique for the center of the flower using shades of brown and few spots of white for accent. I used the stitch edge die from My Favorite Things and a triple accent banner sentiment on a white card base. A few copper accent dots from Nuvo.


NEXT CARD- USING GLITTER, STAMPING AND COLORING TECHNIQUE

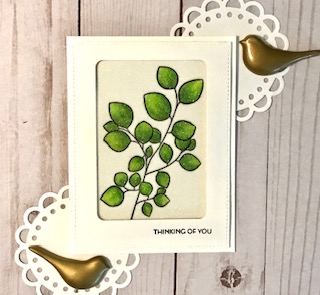
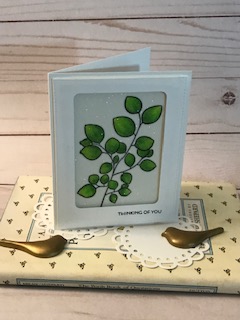
This card was creating a background that used glitter paper for stamping. I had in my paper collection a package of Micro Fine Glitter Paper in Cool Highlights from Krazy Kreations. I cut a piece larger than the inside of the rounded corner rectangle die from Altenew which was going to be the front of the card window frame. I selected a branch from the Leaf Canopy stamp set and black permanent ink. I used Tombow markers in shades of green and a blender marker after I finished coloring in the leaves. This last step was important to blend in all of the shades of ink. I let it set for awhile to dry while I worked on the rest of the card. I used the rounded rectangle corner die from Altenew to die cut a window from white card stock and then used a larger stitched edge die for the rest of the quarter sheet of white card stock. I stamped the “Thinking of You” sentiment in the bottom right corner using black ink. Before I put all of the pieces together I touched the inked leaves with a piece of scrap paper to help to dry the inked leaves. I used white glue to secure the glitter stamped paper to the card front and then I used foam tape behind the white paper frame. Simple but elegant card. I am glad I had this special paper in my collection!


BONUS AND LAST CARD- USING EMBOSSING GOLD POWDER AS AN ACCENT
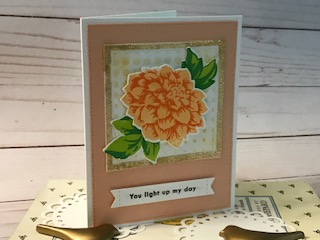
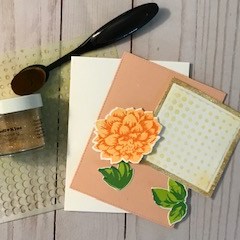
This last card in the lesson was to create a visual accent and I created a gold embossed frame for the layered stamped Dahlia flower and leaves. I used a stacked set of square dies from Essential Squares by Ellen, This is a unique set and has many sizes but also cuts just a narrow frame. I used Versamark embossing ink and Egyptian gold embossing powder and heat set the gold frame. I used another square paper piece to ink dots using the gradient dot stencil using an Altenew ink cube. I added the stamped layered dahlia image and leaves to the dotted square using foam tape. The front of the card was a textured light melon colored paper. I stamped the sentiment and die cut the banner from My Favorite Things die. The gold accent frame added a visual accent piece to the card.

SUPPLIES AND MATERIALS
Altenew Stamps- layered Dahlia flower and leaves, Canopy leaf branch, Charmed flower, Sketchy Floral, Forever Poppy, Smile More daisy, and a variety of Altenew sentiments from other stamp sets
Altenew Stencils– gradient dot and wonky grid
Altenew Ink Cubes– sunkissed yellow and orange, and pinks
Altenew Dies- hello script and rounded corner stacked rectangle set
Altenew– wide washi tape gold stripe
Tombow Markers- 133 Light Green, 173 Green, 192 Green, N00 Blender pen
Copic Markers– Y15 Cadmium Yellow, Y13 Lemon Yellow, YG25 Celadon Green, YG23 New Leaf
Colored Pencils– Prismacolor yellows and light brown
Watercolor Paints- Kuretake Gansai Tambi paint blocks
Dies- My Favorite Things stitched rectangle and word banners, Essential Squares by Ellen
Supplies– Nuvo drops, black glaze pen, gold embossing powder, Memento black ink, embossing ink, Krazy Kreations glitter paper, foam tape, MISTI stamping platform, Scor Pal score board, 3M large tape runner, May Arts gold twine, white card stock, Fiskars scissors, blending brushes, 3M foam tape

Hi Nancy,
The cards look great. Each project is well explained and lets the reader know what it is about – the techniques etc
All the photos look nice too but I think you dragged the first, main photo for each project as it appears blurry, and one or two here and there as well. But thank you for adding more project photos, I was able to see the details in other photos which was really helpful.
Thank you for submitting your beautiful work to the AECP assignment gallery. Well done!
Thanks Erum. I appreciate your feedback and suggestions. Not sure why some photos look blurry as I did the same steps for all the photos. They looked ok when I posted them. Glad you liked the extra details. Working on the other classes. Thanks again.