Vintage beauty in a classic style! Create gorgeous vintage print-inspired projects usint this Vintage Tapestry kit! This kit contains beautiful three dimensional embossing folder, a 6″x8″ layering stamp set, a four piece layering stencil set and a matching die set to cur all of the pieces from the stamp set and the layering stencil set.
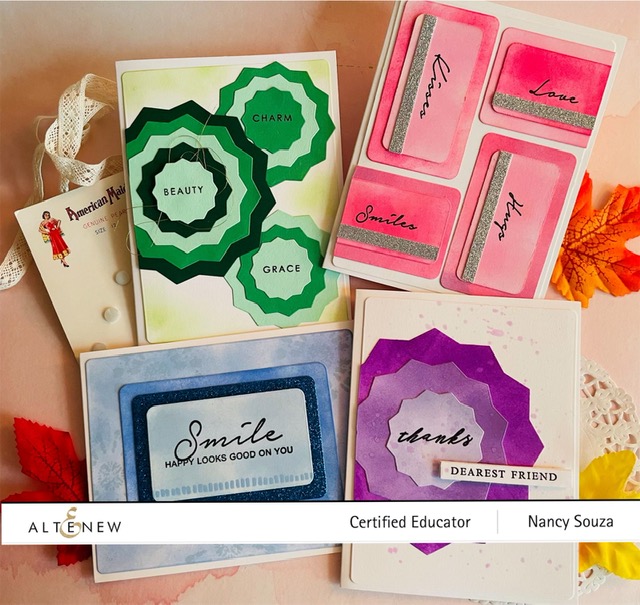
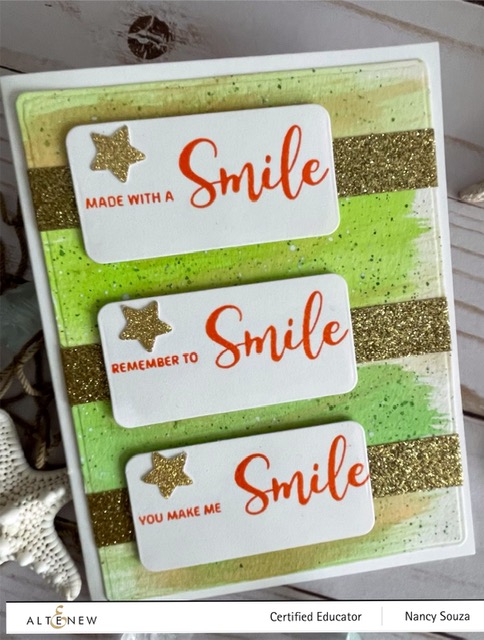
When creating card samples from the Vintage Tapestry set, I could not decide which card I liked the best as they were all beautiful. Here are the three cards I created. I used the layering stamp set and coordinating dies, the botanical 3D embossing folder, and the 6″ x6″ layering stencil. Here are my card samples-


The Altenew Card Blog will be hosted here-https://wp.me/p6Dps1-eYg. Here is the link to the Altenew shop-www.altenew.com.
Here is the Craft Your Life Project Kit: Vintage Tapestry link-https://wholesale.altenew.com/products/craft-your-life-project-kit-vintage-tapestry and the link to the
- Craft Your Life Project Kit Monthly Subscription Plan (14% off) https://altenew.com/products/craft-your-life-project-kit-monthly-subscription-plan
Giveaway Prizes
$300 in total prizes! To celebrate this release, Altenew is giving away a $50 gift certificate to 2 lucky winners and a $ 25 gift certificate to 8 winners! Please leave a comment on the Altenew Card Blog and/or each designer’s blog post on the blog hop list below by 12/18/2021 for a chance to win. Altenew will draw 10 random winners from the comments left on each stop of this blog hop and announce the winners on the Altenew Winners Page on 12/20/2021.

MORE DETAILS ABOUT CARDS MADE USING THE VINTAGE TAPESTRY SET

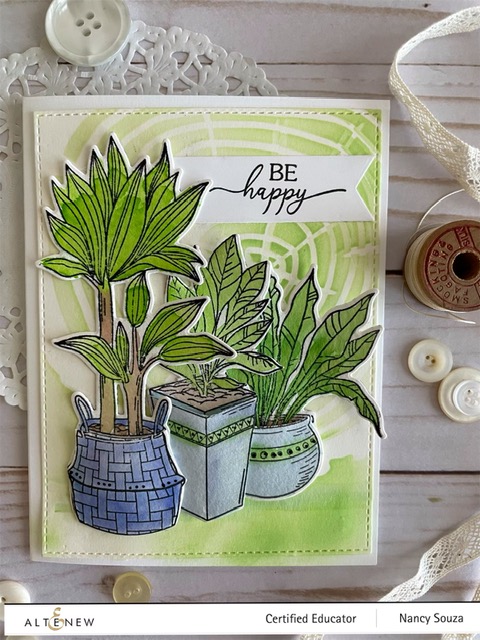
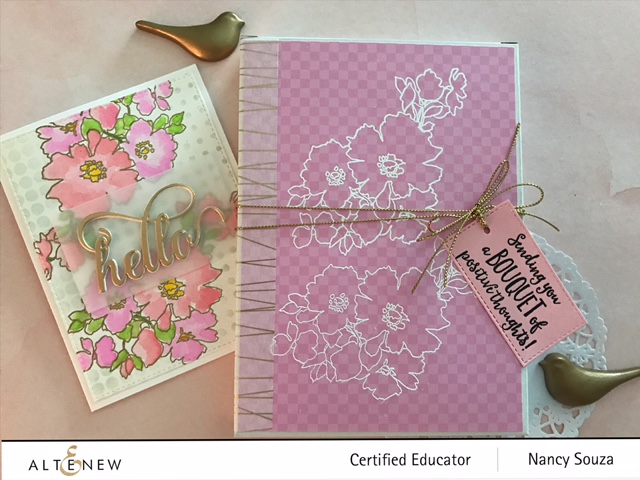
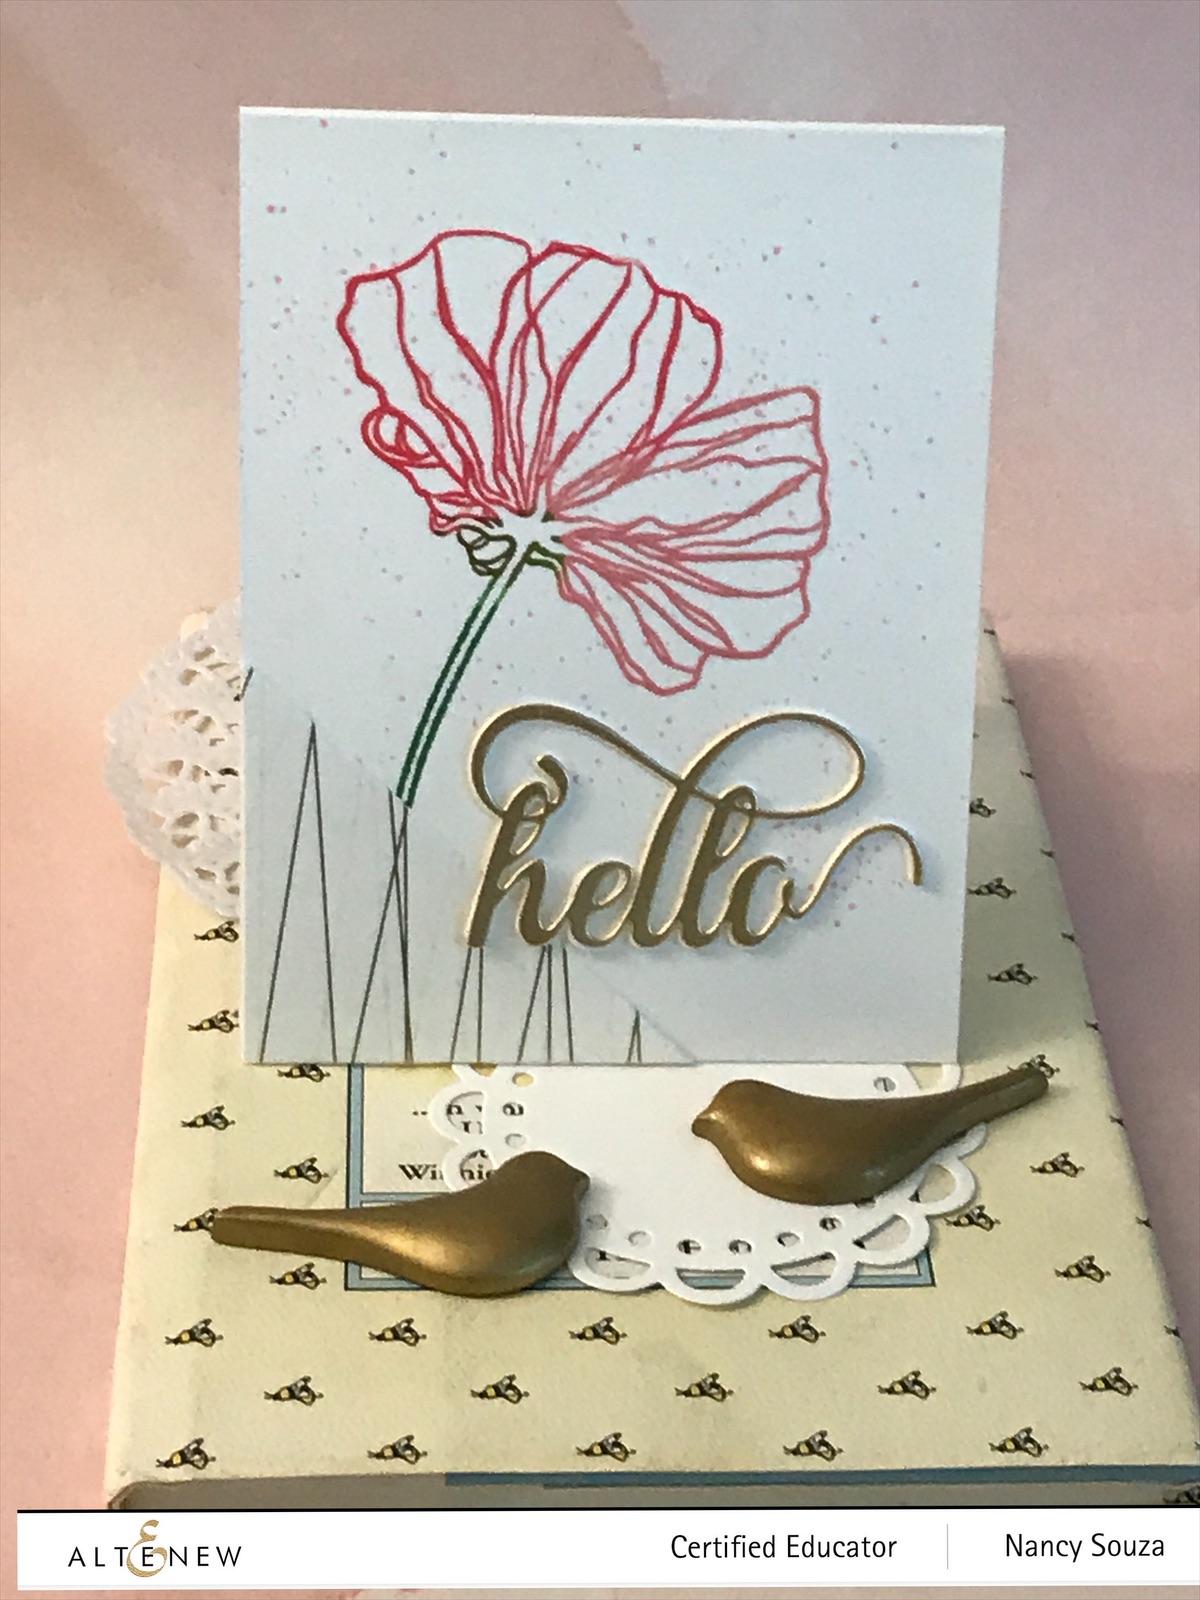
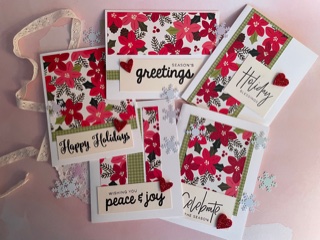
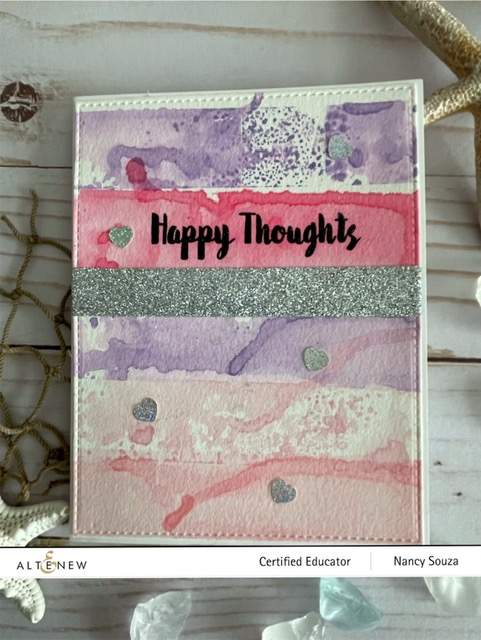
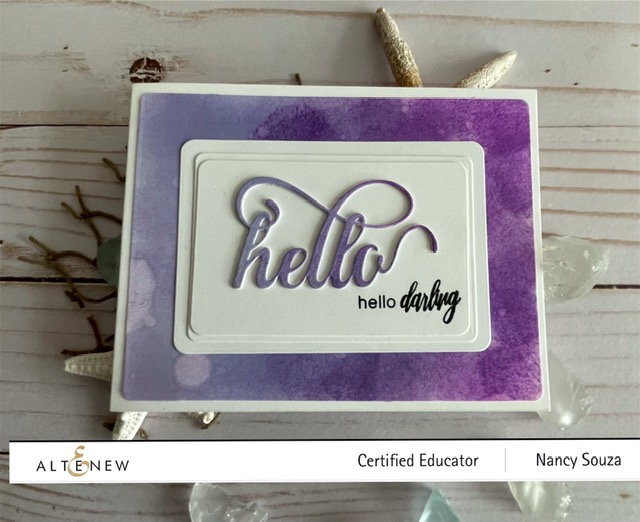
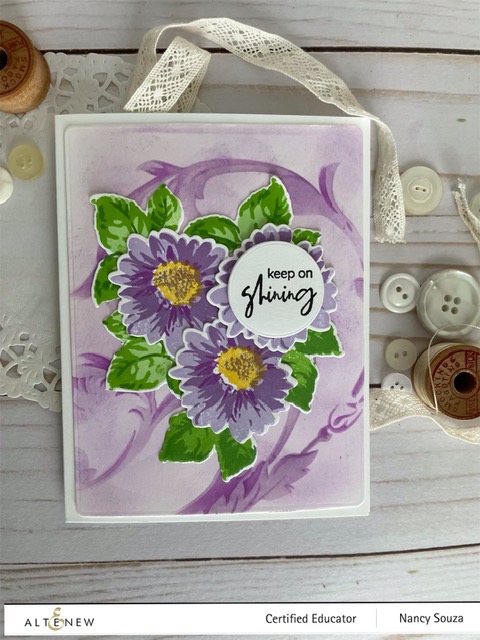
I used two of three pieces from the set for this card. The layered stencil was used to create the background. I inked the white cardstock using a purple Altenew ink cube, and then darker purple ink cubes to create the layered stencil. Purple ink cubes in several shades of purple for the layered flower stamp, a yellow inked center. Several shades of green ink cubes for the leaves. All of the pieces were die cut from the coordinating set. I stamped the sentiment in black and then die cut a circle to fit inside one of the flowers. The flowers and leaves were arranged on the inked and stencil background and the last flower was adhered using some foam tape to raise the flower and sentiment.
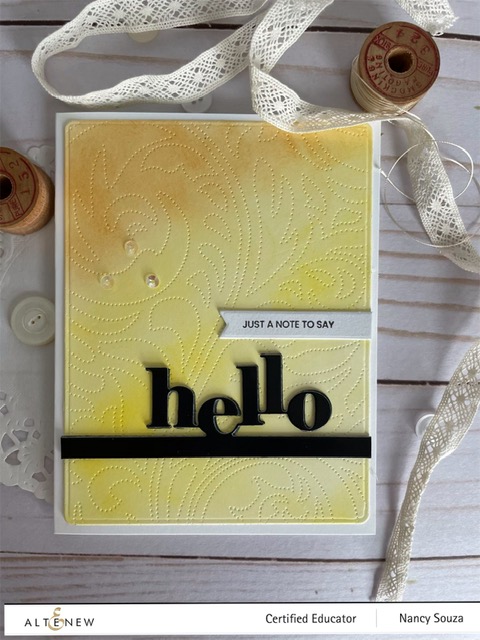
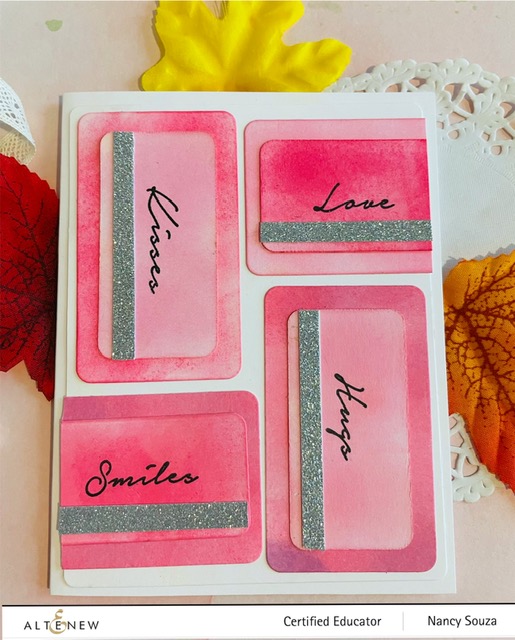
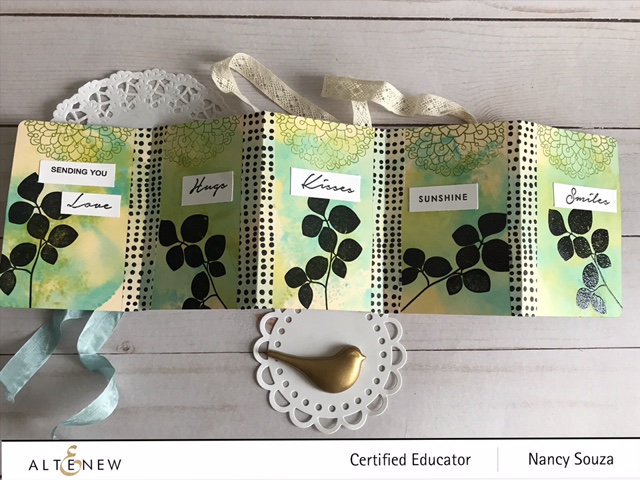
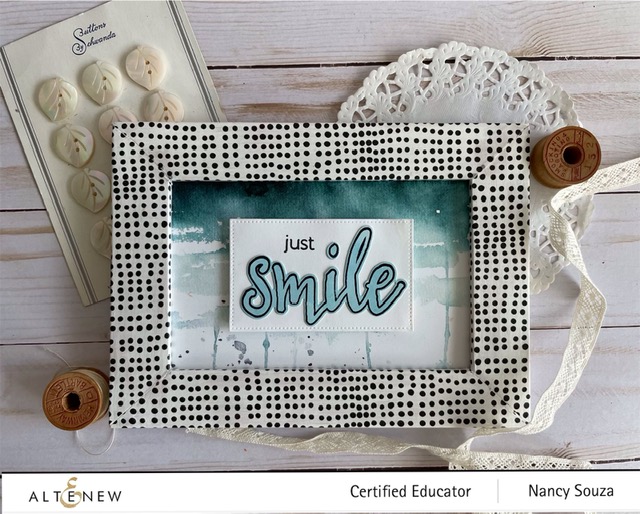
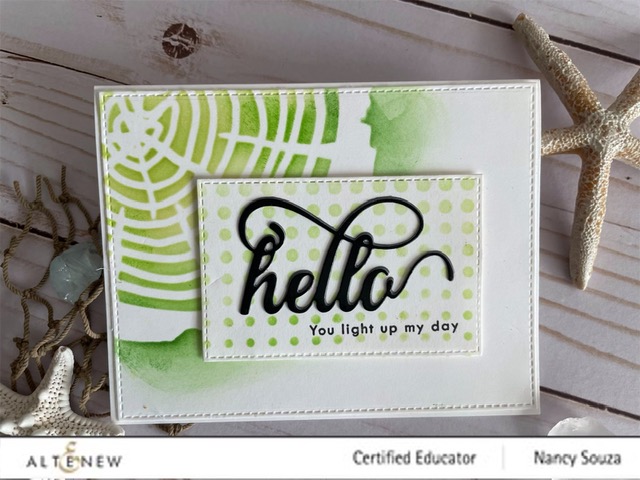
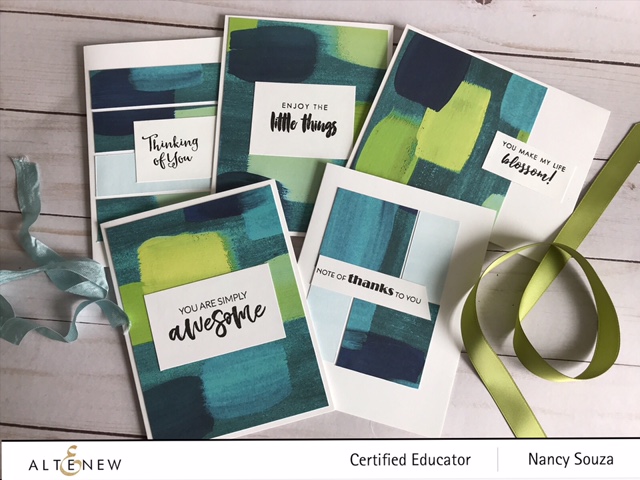
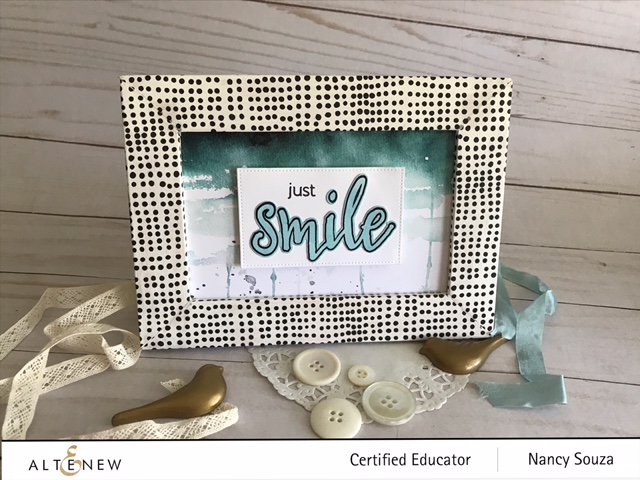
This card was a clean and simple layout. I used the layering stencil to create the florish image and several shades of Altenew blue ink cubes on white card stock. I used the Altenew Dotted Swiss debossing full coverage plate. I love that this step added great visual interest to the card. An inked word tag with a matching sentiment. The last step- I added Altenew silver glitter washi tape to a white card stock strip for dimension , added it to the card and layered the sentiment die cut piece to finish the card. Great card that can be adapted for many different occasions.

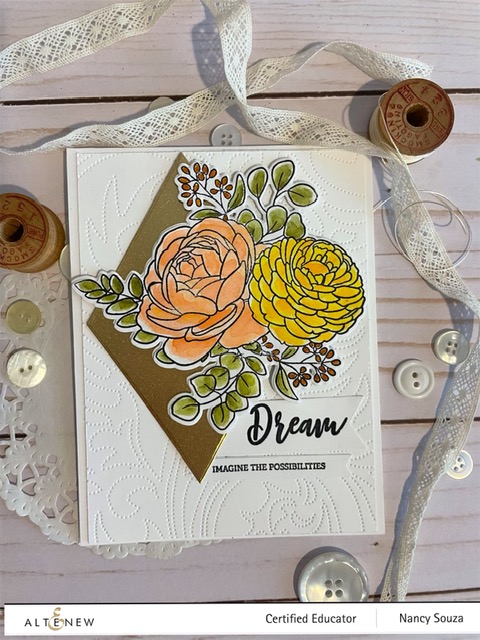
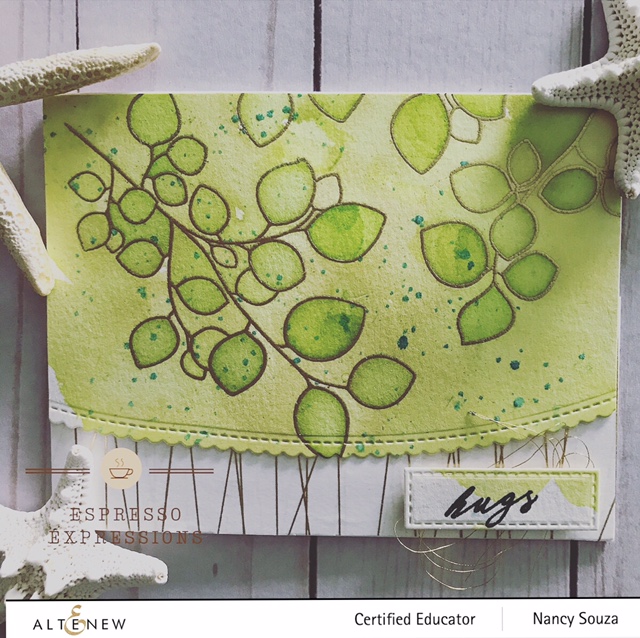
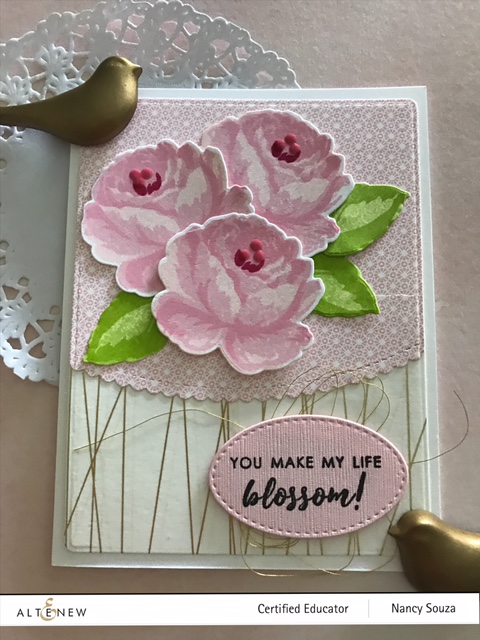
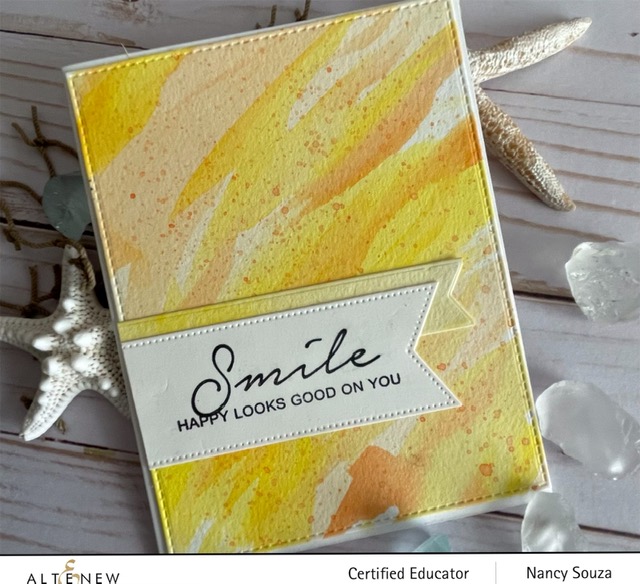
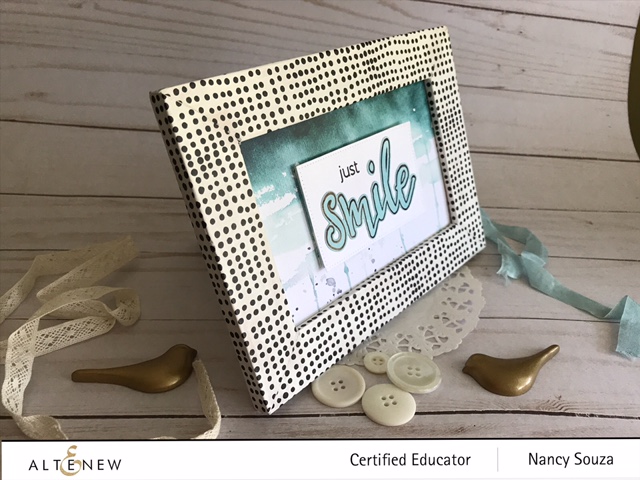
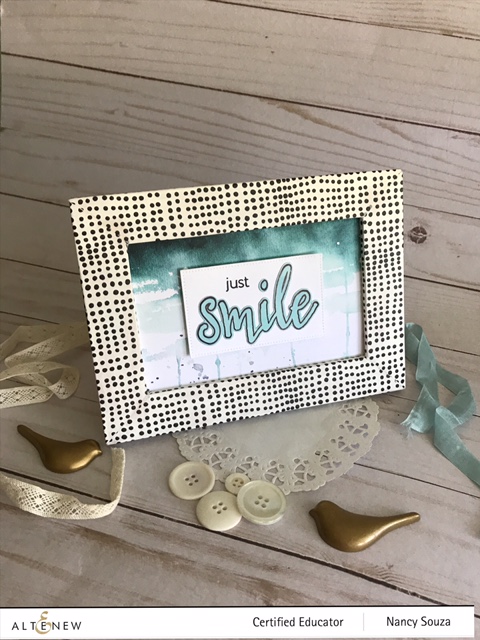
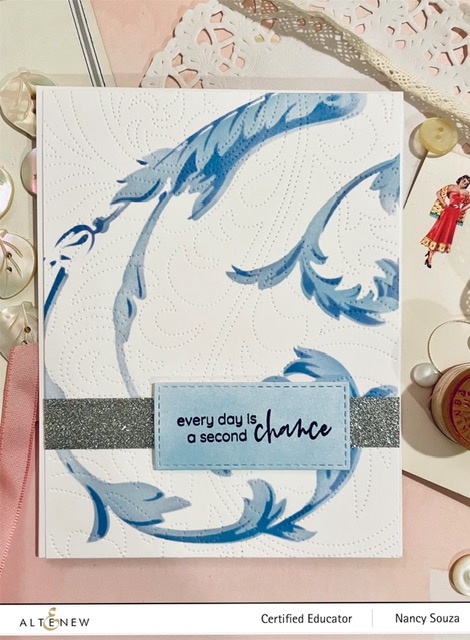
The Botanical 3D embossing folder was used for this card. I used a piece of mixed media paper to use in the folder and worked well as it was a heavier weight paper. I used a light wash of colored ink cubes to paint the raised image to create a soft and muted image. I die cut the piece from a rounded corner rectangle die. A small stamped word tag was added using foam tape to the top corner of the card . The colored and raised image was the showcase of the card.
Supplies and Resources
- Altenew VintageTapestry stamps, dies, layered stencil and 3D embossing folder
- Altenew ink cubes
- Altenew dotted swiss debossing cover plate
- Aletnew silver washi tape
- My Favorite Things rounded corner rectangle die
- Memento black ink
- MISTI stamping platform
- Sizzix die cutting machine
Blog Hop Order
Please check out the other wonderful cards from my fellow Altenew Educators. You will be inspired!
Nancy Souza– you are here!